There is nothing more satisfying than creating music with an instrument you’ve made yourself. Home-made DIY musical instruments might sound complicated, but don’t worry! There are hundreds of simple, fun projects to try that will have your kids making music in no time. They’ll have lots of fun creating and decorating their own music makers, and learn about how music and sound work in the process.
The simple DIY instruments we’ve collected here all use materials you’re likely to have around the house. They are easy enough for young children to work on themselves, although adult supervision is a must. It’s always more fun to build something together, so why not join in? Even better, invite some friends over and have a DIY music afternoon. And if you make all of the DIY musical instruments here, you’ll have a full band!
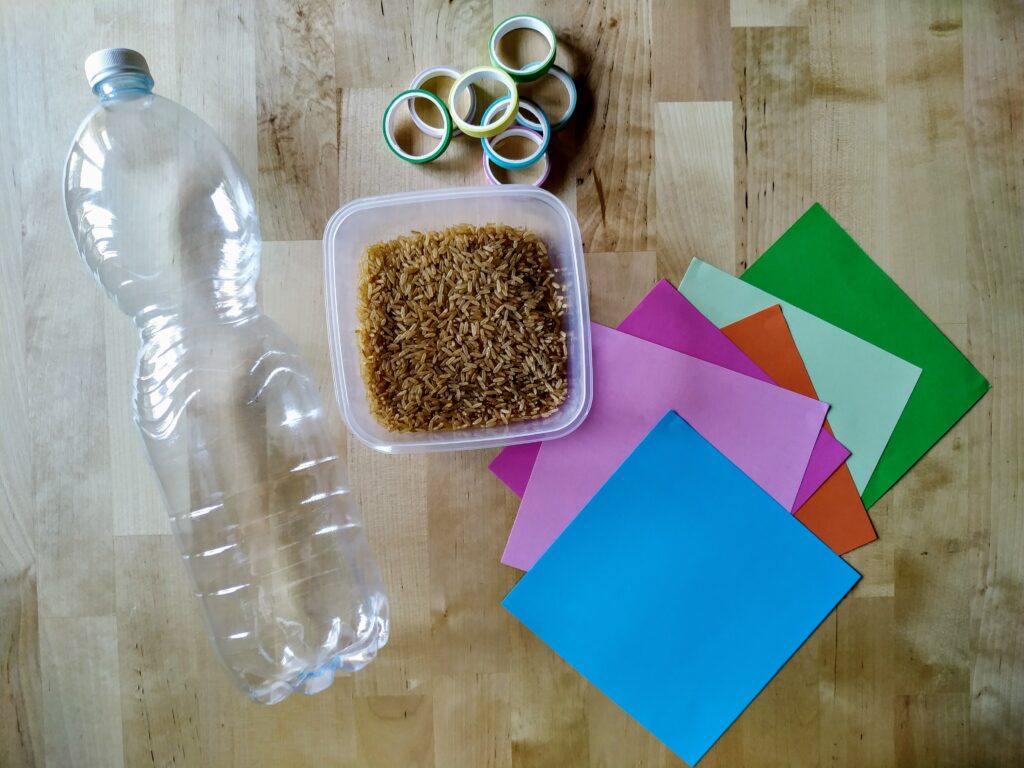
1. Plastic bottle Shaker
A great way to re-use plastic bottles! These shakers are so simple to make, and it’s lots of fun trying out different-sized bottles with different materials inside. Each material produces a different sound so experiment with as many as possible!
What you’ll need:
- Clean, empty plastic bottles with lids, labels removed
- Rice, pasta, beads, coffee beans – anything small and dry will work
- Decorations – tinsel, paper, washi tape, stickers, or paint
What to do:
-
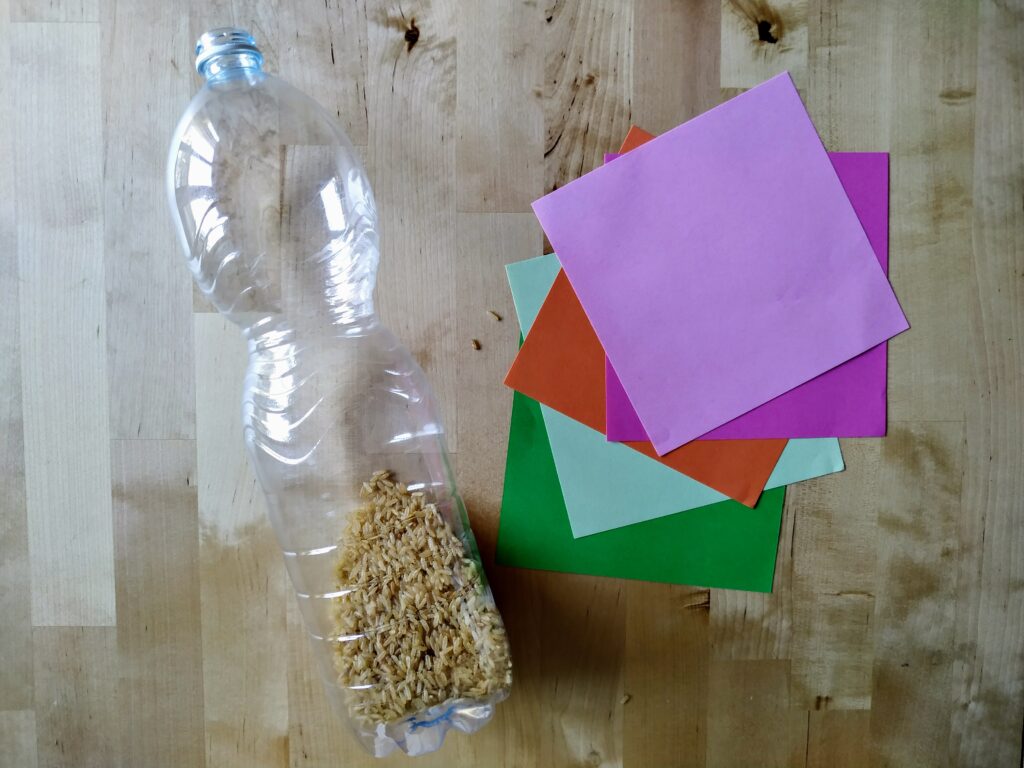
Take a clean, empty bottle and add some of the “shaky bits.” The amount you use will affect the sound, and make sure not to fill the bottle completely.

-
Put the lid back on the bottle and make sure it’s tight.
-
Decorate the outside of the bottle however you like! Stickers and tape work well.
-
You’re all done. Take your bottle and shake, shake, shake!

Watch a tutorial by the kids at Curious World here.
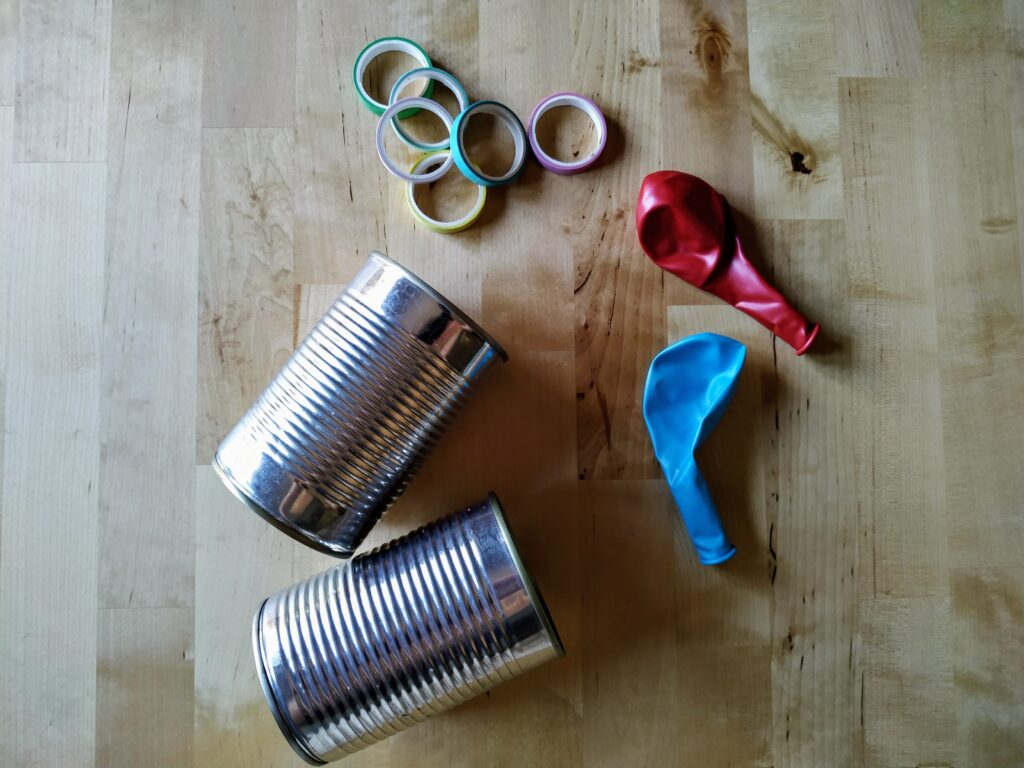
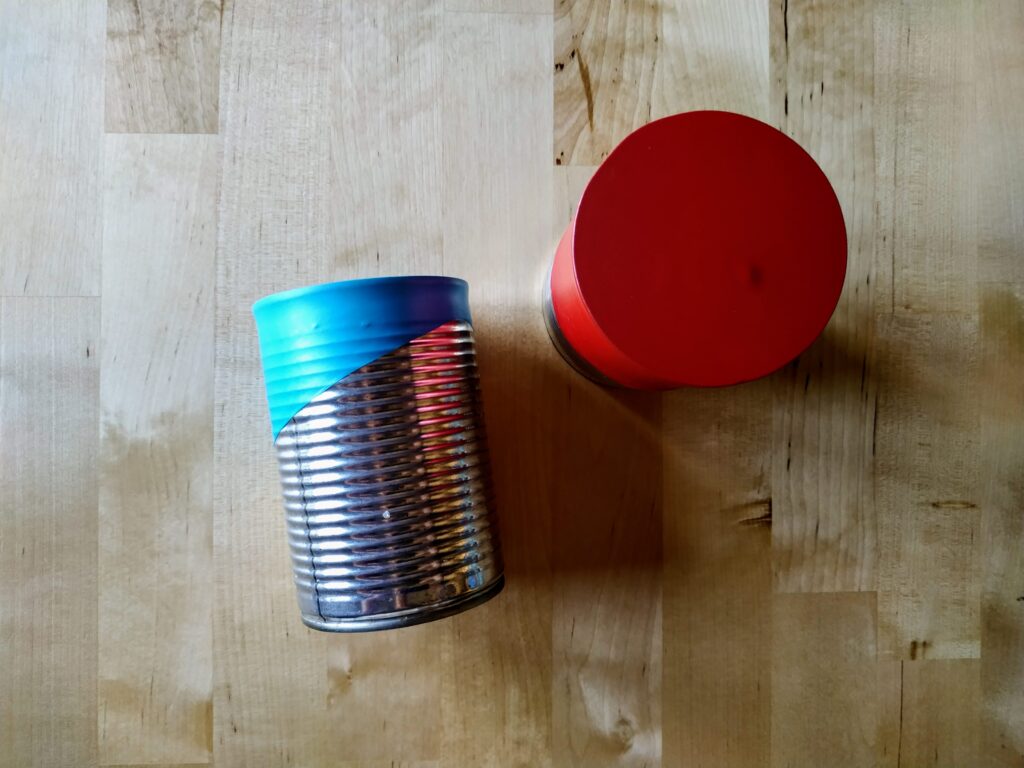
2. Tin can drum
You can’t have a band without drums, and these cute mini drums are the perfect way to get kids excited about percussion. They’re super simple to make and produce incredible sounds, but it’s really important to make sure the tins are clean and have no sharp edges before you begin.
You can use tin cans of different sizes to produce different sounds, and let the kids go wild decorating them!
What you’ll need:
- Clean, safe, empty tin cans with labels removed
- Balloons (one per can)
- Strong tape
- Paint/ribbon/washi tape etc. for decorating
- Scissors
What to do:
-
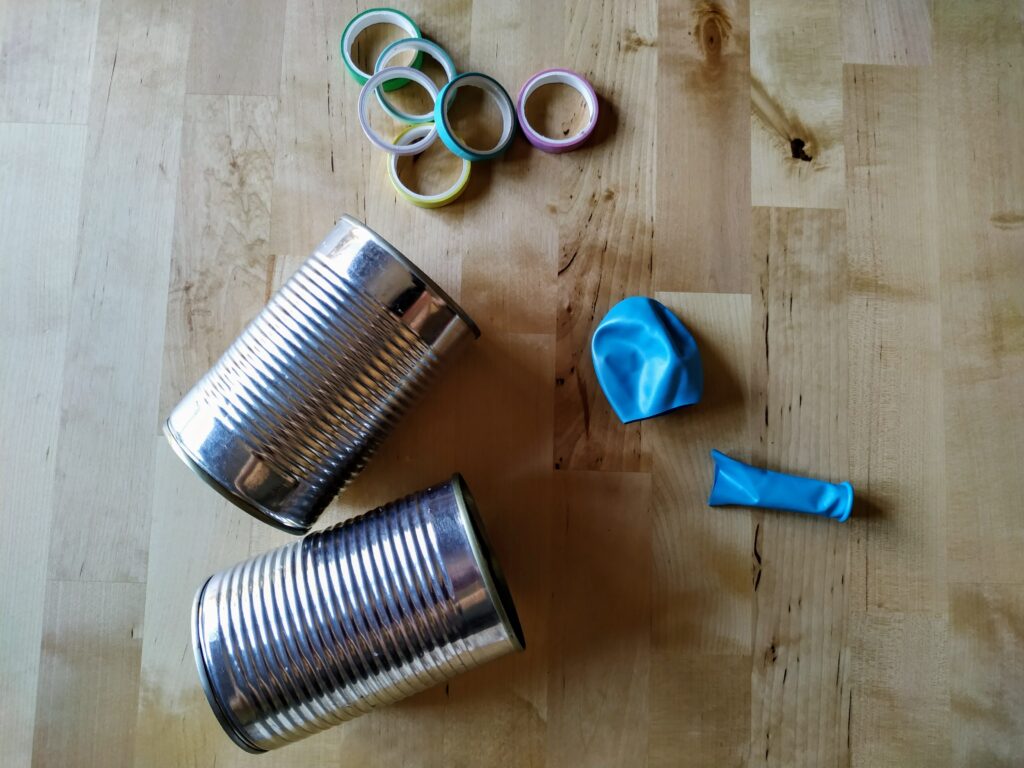
Take a balloon, and cut it in two just before its widest point.
-
Stretch the balloon with both hands and fit it over the open end of one of the cans. The more stretched it is, the tighter the drum and the better the sound.
-
Tape the balloon in place to keep it extra secure.
-
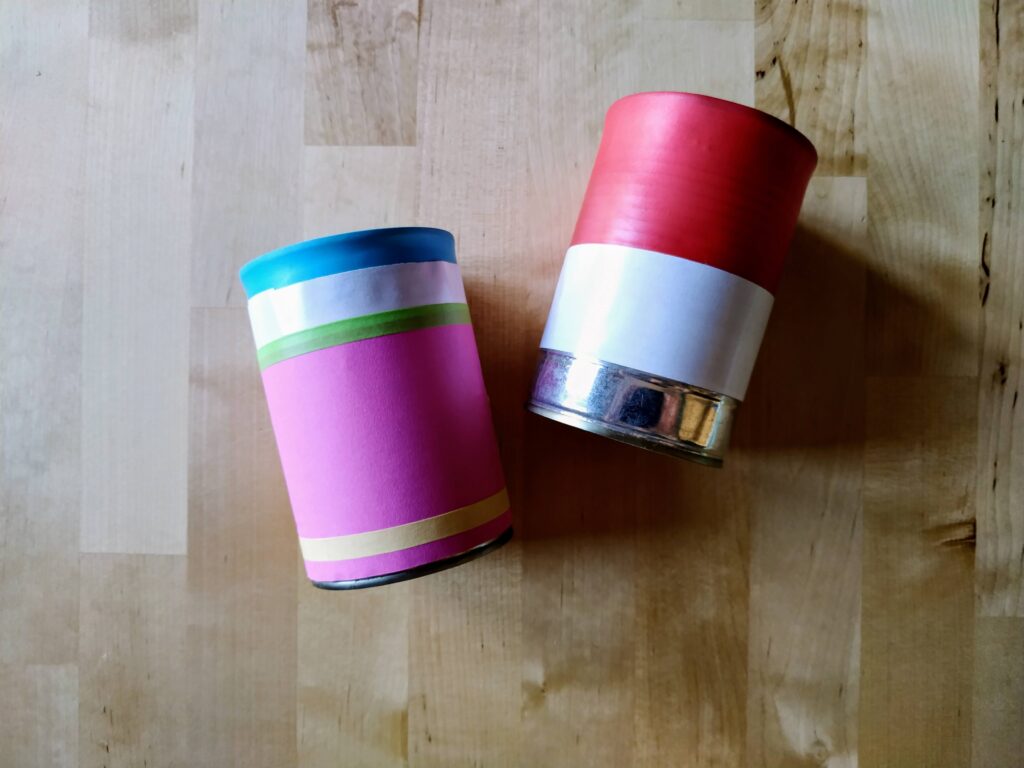
Now get decorating! Use paints, washi tape, foil, or paper to make the drum look amazing. The materials you use will affect the sound, so make sure to try lots of different things!
Easy! Now the drum is ready to play. Use hands, pencils, or wooden spoons for different results!
Watch a tutorial from Sophie’s World here.
3. Rain stick
This DIY rain stick is incredibly simple to make and satisfying to play with. Even better, you’ll probably have everything you need to make it in your kitchen. Try different materials inside to create different sounds.
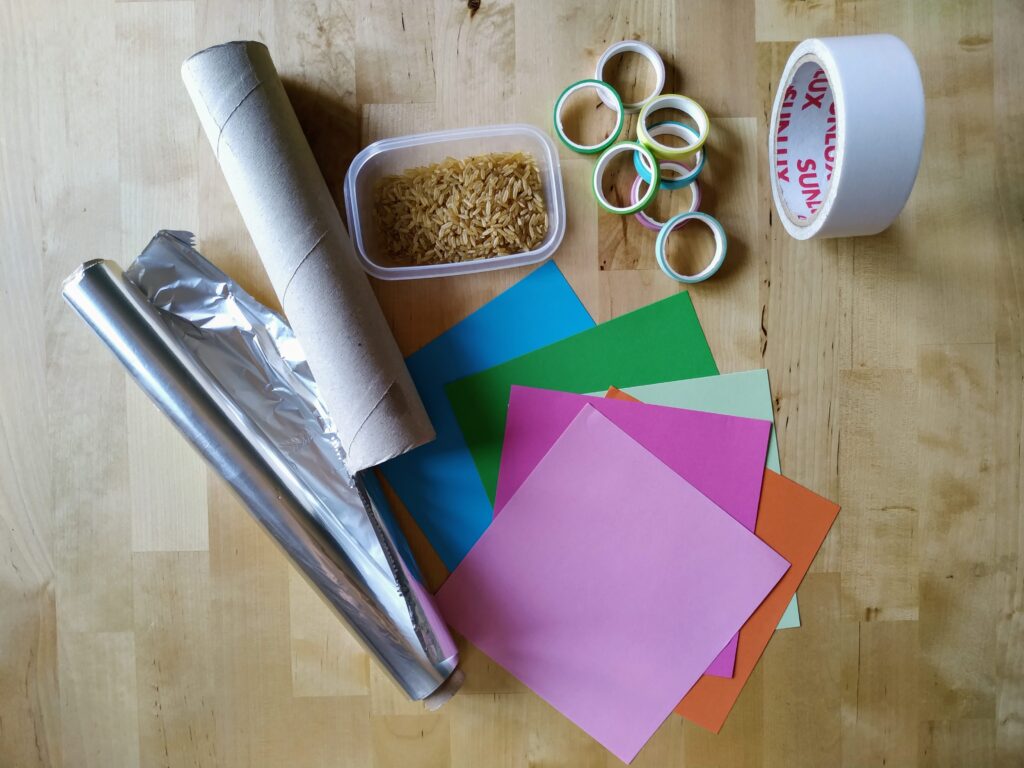
What you’ll need:
- Paper towel tube
- Aluminum foil
- Strong tape such as duct tape
- Colored paper or paint
- Dried corn, rice, lentils, sand – if it’s small and dry, try it!
What to do:
-
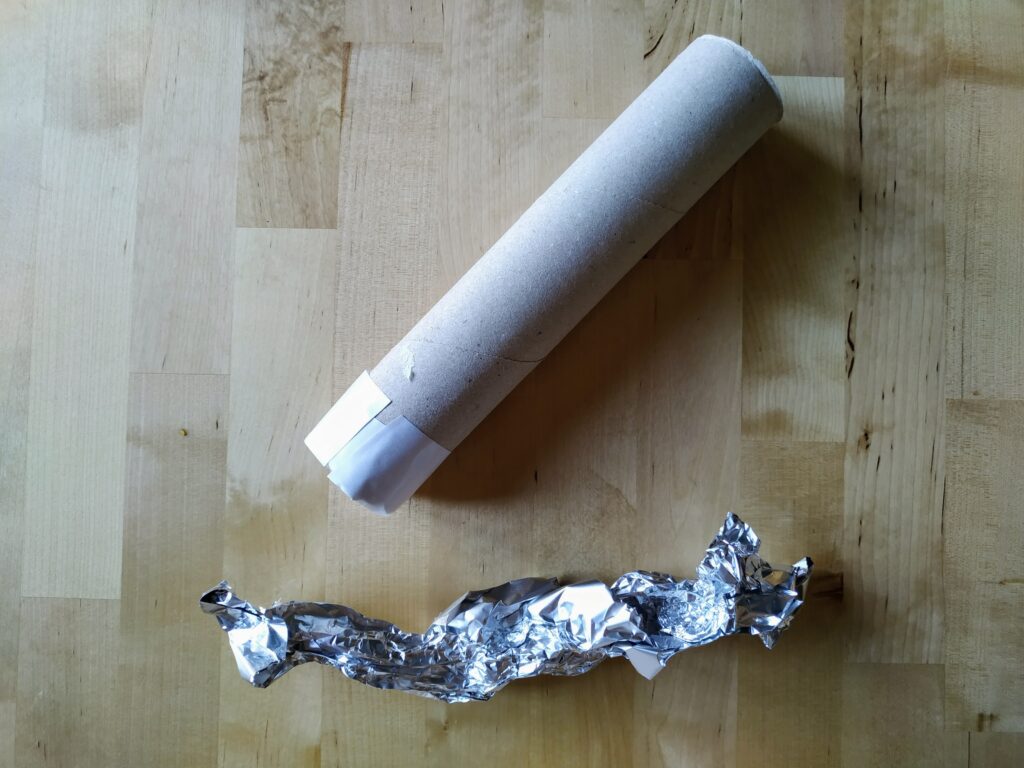
First, cover one end of the cardboard tube with duct tape. You can paint the tube beforehand if you like.
-
Next, scrunch the aluminum foil into a long, thin ‘sausage’ shape, the same length as the tube, and put it inside. The more lumps and bumps there are, the better but make sure the dry material can move fairly freely inside the tube – that’s where the sound comes from!
-
Add a handful of whatever dry material you’re using into the tube.
-
Now cover the open end of the tube with more duct tape.
-
Cover the instrument in colored paper, or paint it however you like.
-
To start making rain, turn the tube upside down!
Watch a tutorial from PBS Kids here.
4. Popsicle stick harmonica
This instrument is so simple to make and is surprisingly tuneful. It is a fantastic way to learn about how vibrations create and carry sound.
Experiment with different sizes of popsicle sticks and elastic bands to create sounds of different pitches. You can also try moving the straw pieces to see how that changes the sound.
What you’ll need:
- Two large wooden popsicle sticks
- One large elastic band
- Two small elastic bands
- One drinking straw
- Scissors
What to do:
-
First, stretch the large elastic band over one of the popsicle sticks, end to end.
-
Now, cut two small pieces of straw, about the same width as the popsicle stick. Fit them under the elastic band, one at each end of the stick.
-
Place the other popsicle stick on top, and secure the two together using the two small elastic bands, one wrapped around each end.
-
All done! To make a sound, but the harmonica to your lips and blow to vibrate the elastic band in the middle.

Watch a tutorial from Jen Walshaw here.
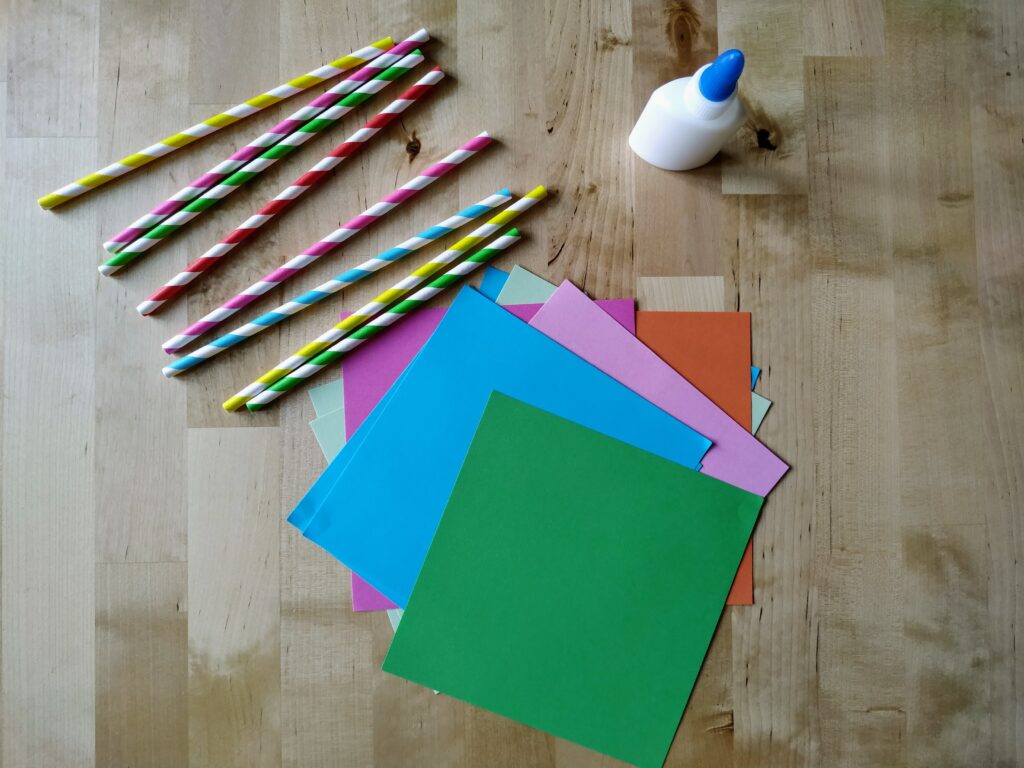
5. Drinking straw panpipes
These colorful pipes are a fun way to explore sound and make a great project for birthday parties or other group settings. Try different lengths and types of straws to hear how the sound changes!
What you’ll need:
- Wide drinking straws (five to eight per set of pipes)
- Card or thick paper
- Double-sided tape or craft glue
- Ruler
- Scissors
What to do:
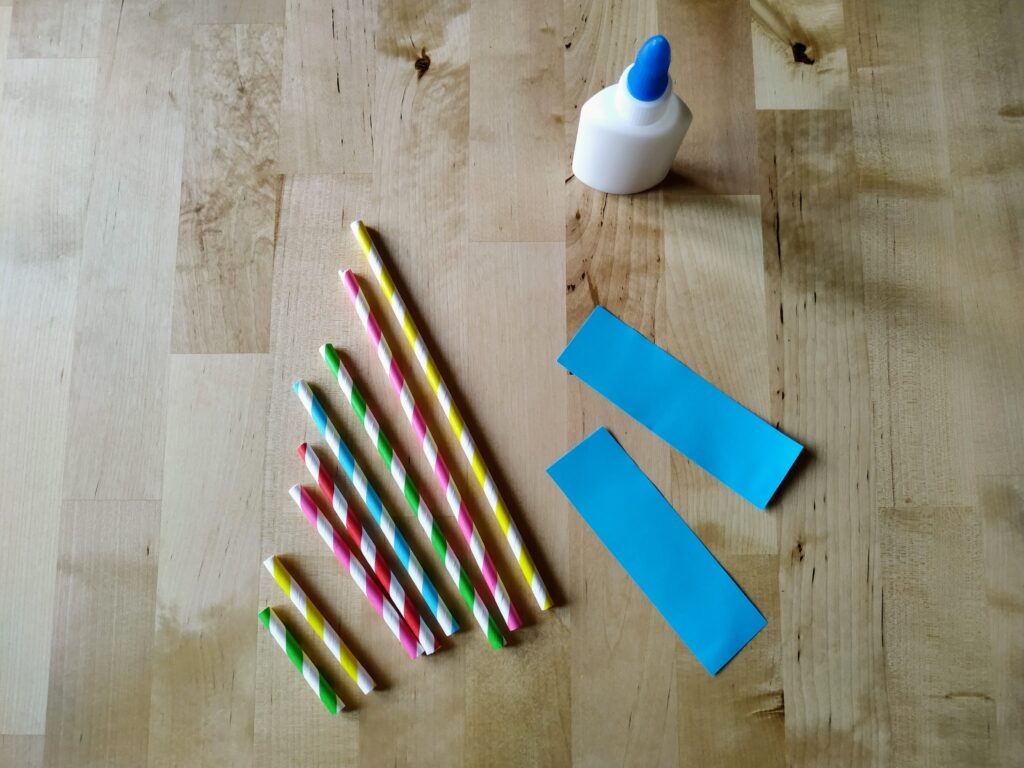
-
First, cut the straws to different lengths, between three and six inches.
-
Cut two strips of card seven inches long and around an inch wide – these will hold your pipes together.
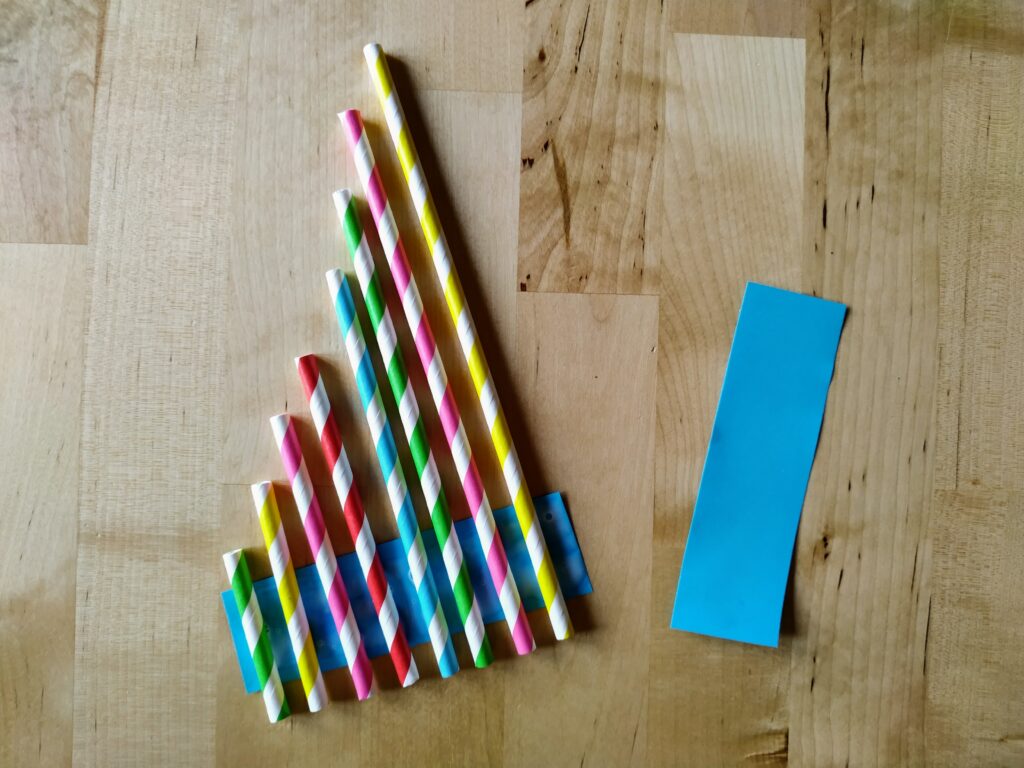
-
Attach a piece of double-sided tape the same length as the card to one of the strips. If you’re using glue instead, place blobs of glue equally along the strip.
-
Now arrange the straws along the strip, longest to shortest. Press them onto the tape or glue firmly. Make sure to keep about ¾ of each straw above the card.
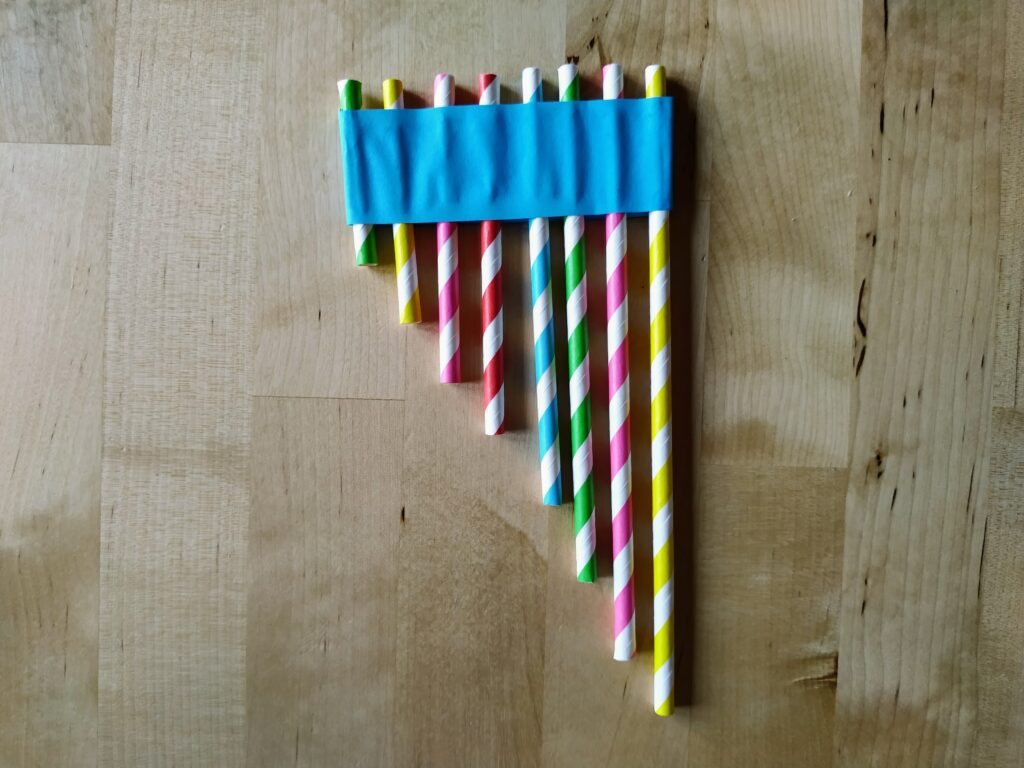
-
Attach a strip of tape to the other piece of card and press firmly onto the straws. If you’re using glue, add a blob on the side of each straw then press the bard down.
-
All finished! Now blow across the top of the straws to produce the notes. If you used glue, let it dry before playing!
Watch a tutorial from Chelsey Marashian here.
Conclusion
We hope this post has given you some fun ideas for DIY musical instruments to make with your kids. Feel free to take these designs and adapt them to your needs! Once you start looking at things with a musical eye, you’ll find that you can turn almost anything into a musical instrument.
In the future, we’ll explore some more homemade instruments. For now though, have fun creating and getting musical with your kids with these simple DIY musical instrument ideas.
Written by: Liz Sullivan